As WebSifu+ and WebSifu Lite customer, you get to enjoy unlimited 10 GB email accounts. There are many ways you may use the email service.
Using your web browser (Recommended)

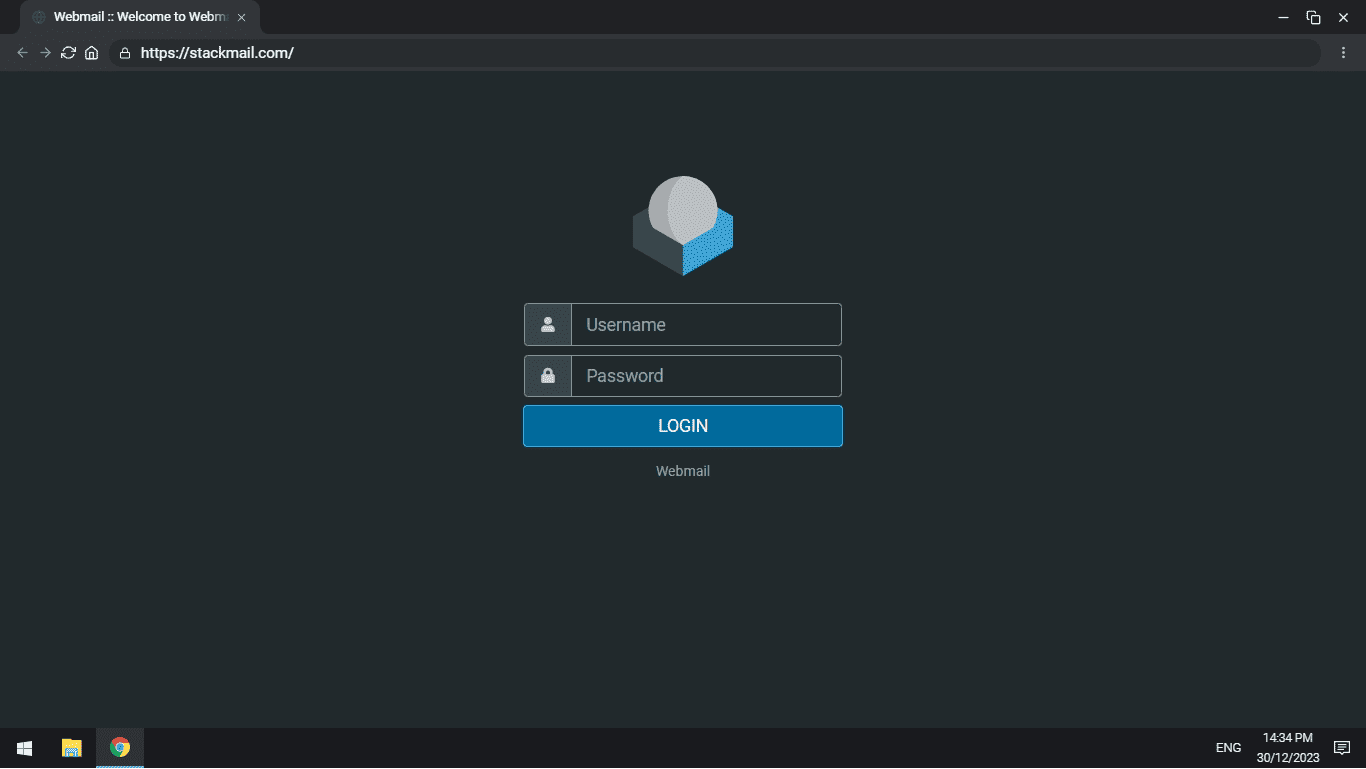
You may login to your email account via stackmail.com. The username will be your full email address, the password would have been given to you during initial setup. Feel free to contact us for password reset should you forget your password.
Using a desktop or mobile email app
You may use any desktop or mobile email app to access your email. We do not offer support for 3rd party apps, therefore you need to refer to individual app’s user guide to find out how to set up your email account on the app.
You will need the following information during setup:
Username: Your full email address eg [email protected]
Password: Your password
Incoming Server: imap.stackmail.com
IMAP Port: 993 (SSL)
Outgoing Server: smtp.stackmail.com
SMTP Port: 465 (SSL)
Remember to tick “Authentication is required for IMAP and SMTP“
Bonus tip: Using Gmail
If you are already a Gmail user (free or paid) and if you prefer so, you may set up Gmail for sending/receiving your domain emails:
- Login to your Gmail, click the cog icon
 at the top/right corner then click See all settings
 - Go to Accounts tab, next to Check mail from other accounts click Add a mail account
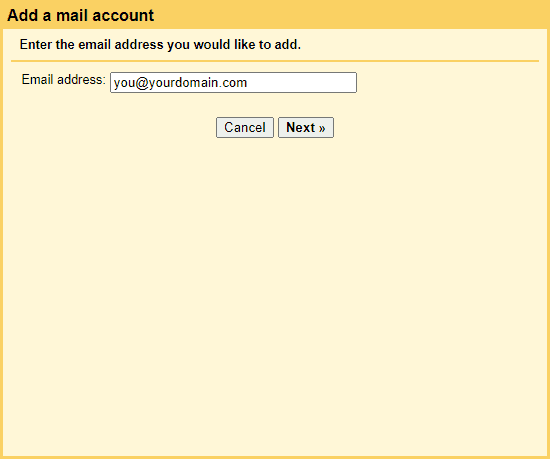
- In the popup window, enter the email address you want to use (not Gmail address) then click Next

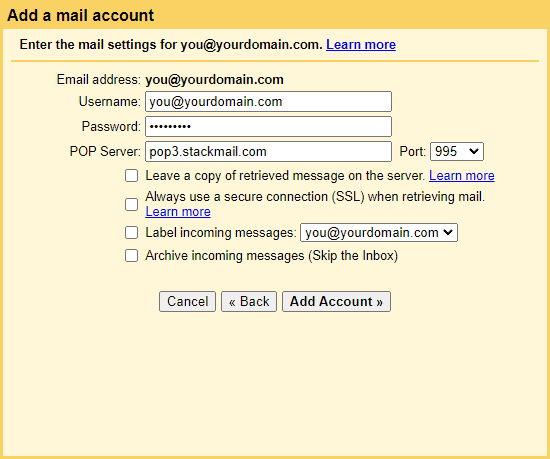
- In the next page, fill in the following details:
Username: Your full email address
Password: Your password (Not Gmail password)
POP Server: pop3.stackmail.com
Port: 995 - The checkboxes below are optional. You may click the “Learn more” link to find out more about what they do

- Finally click Add Account and done.


